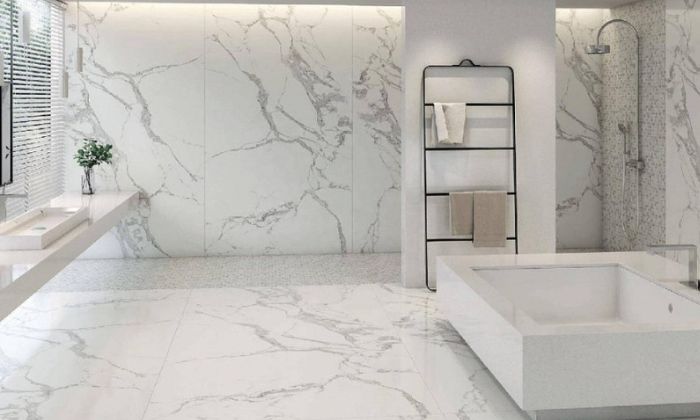
Top 10 Most Expensive Marble in the World
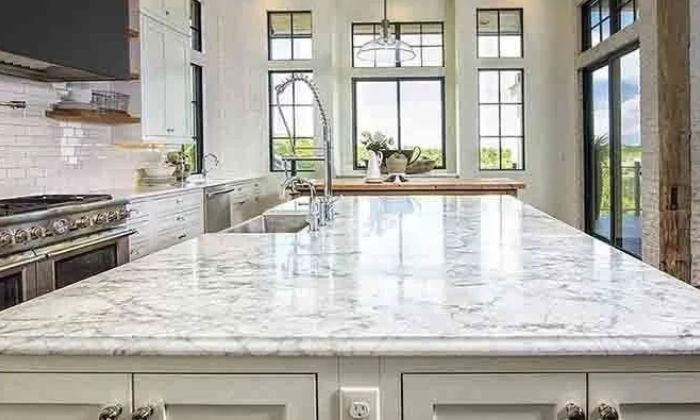
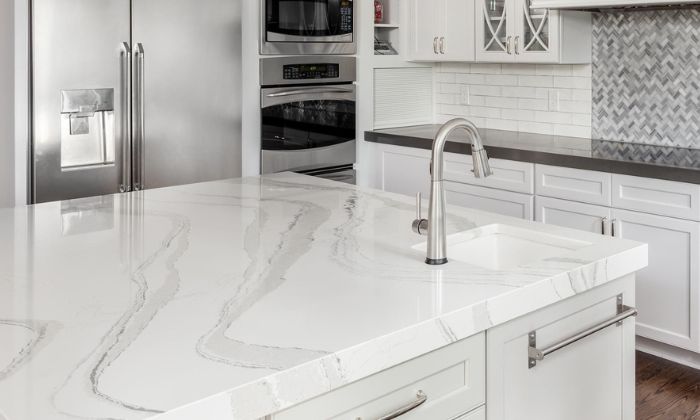
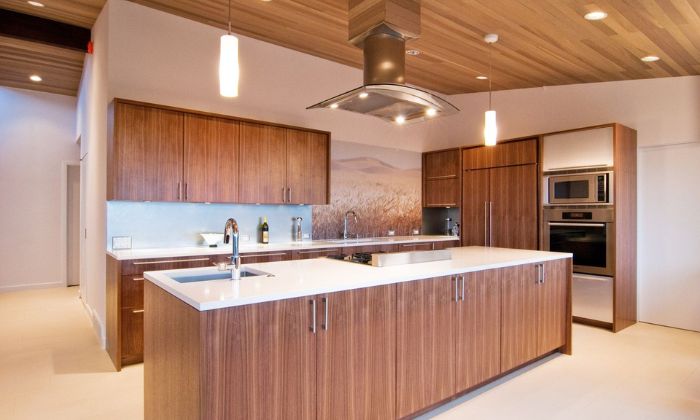
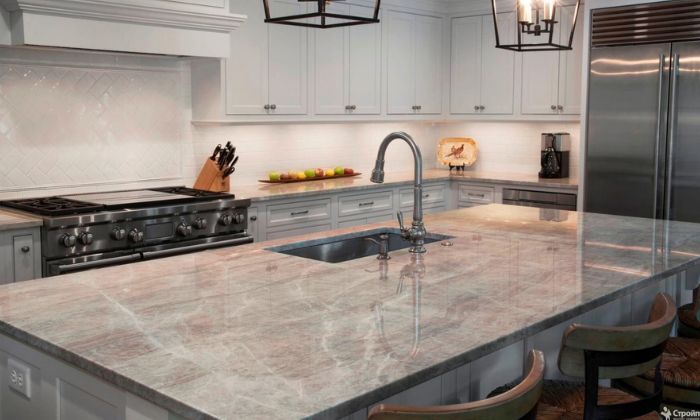
Marble has been a symbol of luxury and elegance for centuries. From ancient palaces to modern-day mansions, this natural stone has adorned some of the most exquisite structures around the globe. Among the various types of marble, some stand out not just for their beauty but also for their price. In this article, we will explore the top 10 most expensive marbles in the world, known for their unique characteristics, rarity, and the luxurious touch they add to any space. Call Now 1. White Statuario Marble White Statuario marble is often regarded as the most expensive marble in the world. Quarried in the Carrara region of Italy, this marble is prized for its pure white background and dramatic dark gray veins. The stunning contrast between the white and gray makes it a popular choice for luxury interiors, particularly in kitchens and bathrooms. This marble is not just a natural stone but a work of art that exudes elegance and sophistication. It’s no wonder that it’s highly sought after by interior designers and architects worldwide. 2. Calacatta Gold Marble Calacatta Gold marble is another luxurious Italian marble that ranks high among the most expensive marbles. This marble is distinguished by its thick, bold veining, which ranges from gold to dark gray. The rich contrast between the white background and the gold veins adds a touch of opulence to any space. Calacatta Gold is often used in high-end kitchens and bathrooms, where its unique pattern can be showcased as a centerpiece. The combination of its rarity and stunning appearance makes it one of the best marble options available. 3. Carrara White Marble Carrara White marble is one of the most famous and expensive marbles in the world. Also sourced from the Carrara region of Italy, this marble is known for its soft white background and delicate gray veins. Carrara White is a popular choice for both classic and contemporary designs, making it a versatile option for various applications, including countertops, flooring, and wall cladding. Its timeless beauty and association with luxury make it a staple in high-end homes and commercial spaces. 4. Greek White Thassos Marble Greek White Thassos marble is renowned for its pure white color and crystalline structure. Quarried on the island of Thassos in Greece, this marble is often considered one of the best marble for creating a bright, clean, and elegant space. Its milky white appearance and lack of visible veining make it a popular choice for both modern and traditional interiors. White Thassos marble is especially favored in luxury bathrooms and kitchens, where its pristine look adds a touch of sophistication. 5. Banswara White Marble Banswara White marble is an Indian marble that is highly prized for its unique texture and elegant appearance. It features a white background with subtle gray veins, making it an excellent choice for both interior and exterior applications. This marble is often used in high-end residential and commercial projects, where its luxurious look can enhance the overall aesthetic. Banswara White marble is not just a natural stone but a statement piece that adds value to any space it graces. 6. Katni Green Marble Katni Green marble, also known as Katni Marble, is one of the most sought-after green marbles in the world. Quarried in the Katni district of Madhya Pradesh, India, this marble is known for its light green color and unique pattern. The subtle green hue and delicate veining make it a popular choice for creating a serene and elegant atmosphere. Katni Green marble is often used in luxury homes, hotels, and commercial spaces where its natural beauty can be showcased. 7. Green Marble Green Marble, commonly referred to as Indian Green Marble, is another exquisite and expensive marble known for its deep green color and intricate veining. This marble is often used in high-end projects where its rich color and natural beauty can make a bold statement. Green Marble is a popular choice for kitchen countertops, flooring, and wall cladding, where it can add a touch of nature’s elegance to the space. Its rarity and unique appearance make it one of the most expensive marble countertops available. 8. Prato Marble Prato Marble, also known as Pratolino Marble, is a rare and luxurious Italian marble known for its dark gray color and fine white veins. This marble is often used in high-end interiors where its rich color can create a sophisticated and elegant ambiance. Prato Marble is a popular choice for both traditional and contemporary designs, making it a versatile option for various applications. Its rarity and distinctive appearance make it one of the most expensive marble in the world. 9. Rainforest Green Marble Rainforest Green Marble is an exotic Indian marble known for its unique forest-like pattern and rich green color. The intricate veining resembles the branches and leaves of a rainforest, making it a truly unique and luxury marble. This marble is often used in luxury interiors where its natural beauty can be showcased as a focal point. Rainforest Green Marble is a popular choice for countertops, flooring, and wall cladding, where its distinctive appearance can create a stunning visual impact. 10. Rainforest Brown Marble Rainforest Brown Marble is another exotic Indian marble known for its rich brown color and tree-like veining. The pattern of this marble resembles the roots and branches of a forest, creating a unique and natural look. Rainforest Brown Marble is often used in high-end interiors where its warm color and intricate pattern can add a touch of nature’s beauty. This marble is a popular choice for both modern and traditional designs, making it a versatile option for various applications. Conclusion The most expensive marble in the world is not just a material but a symbol of luxury, elegance, and sophistication. Each of the marbles listed above offers unique characteristics that make them highly sought after by designers and homeowners alike. Whether it’s the pure
Top 10 Most Expensive Marble in the World Read More »