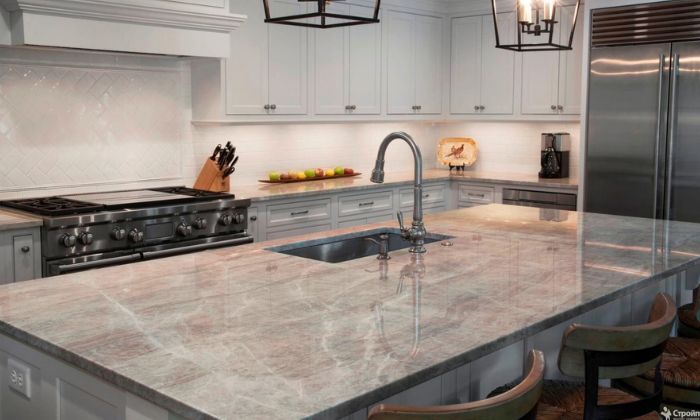
How to Install Quartz Countertops|Step-By-Step Guide
Quartz countertops are a popular choice for modern kitchens and bathrooms due to their durability, aesthetic appeal, and low maintenance requirements. If you’re considering upgrading your space with quartz, knowing how to install quartz countertops properly is crucial for achieving a professional finish.
This guide will walk you through the process of installing quartz countertops, including the tools you’ll need, cutting techniques, and step-by-step installation instructions.

Tools for Installing Quartz Countertops
Before you start, gather the necessary tools and materials for a smooth installation process. Here’s a breakdown of what you’ll need:
Cutting Tools
Essential for making clean cuts in quartz slabs. A diamond blade is designed to handle the hardness of quartz and is suitable for both straight and curved cuts. With the right diamond blade, a circular saw is ideal for cutting large quartz slabs.Useful for making intricate cuts and curves in the quartz.
Smoothing Tools
Used to smooth the edges and seams of the quartz once it’s installed. Ensure you use a diamond polishing pad for a high-quality finish. Handy for fine-tuning the edges and removing any rough spots after cutting.
Other Materials
This is crucial for securing the quartz countertops to the cabinetry and ensuring a watertight seal. Used for filling any gaps or seams between pieces of quartz. To adjust the level of the countertop during installation. To hold the quartz in place while the adhesive sets.
How To Cut Quartz
Cutting quartz requires precision and the right tools. Here’s how to handle different types of cuts:
Straight Cuts
Measure the area where you need to cut and mark it clearly with a pencil. Secure the quartz slab on a stable surface. Use a straight edge or guide to ensure a straight cut. With a diamond blade circular saw, follow your markings slowly and steadily. Keep the saw moving to prevent overheating the blade.
Curved Cuts
Use a template or compass to draw the desired curve on the quartz. A jigsaw with a diamond blade is ideal for making curved cuts. Move the saw along the curve gently to ensure a smooth cut.
Cutouts
Measure and mark the location of sinks, faucets, or other fixtures. Use a drill with a diamond bit to create pilot holes at the corners of the cutout. Use a jigsaw or circular saw to connect the pilot holes and cut out the desired shape.
Installing Quartz: Step-by-Step
Now that you have all your tools and materials, it’s time to install your quartz countertops. Follow these steps for a successful installation:
1. Prepare the Area
If replacing existing countertops, carefully remove them and clean the area thoroughly.
Measure the length, width, and depth of the countertop area to ensure a proper fit for the quartz slabs. Ensure the base cabinets are level and adjust if necessary using shims.
2. Cut the Quartz
Based on your measurements, mark the quartz slabs where cuts are needed. Use your diamond blade saw for straight cuts and a jigsaw for curved cuts. Ensure that all cutouts are accurately made according to your fixtures.
3. Dry-Fit Countertops
Place the quartz slabs onto the cabinets without adhesive to check for fit. Make any final adjustments to ensure a perfect fit, including trimming any edges if needed.
4. Apply Silicone Adhesive
Wipe down the base cabinets and the underside of the quartz slabs to remove dust and debris. Apply a bead of silicone adhesive along the top edge of the cabinets where the quartz will sit. Carefully place the quartz slabs onto the cabinets, pressing down firmly to ensure a strong bond with the adhesive.
5. Secure Counter
Use clamps to hold the quartz slabs in place while the adhesive cures. Ensure that the slabs are properly aligned and level. Let the adhesive cure as per the manufacturer’s instructions, typically 24 hours.
6. Finishing
Apply epoxy to any seams between quartz slabs to fill gaps and create a smooth surface.Use a sander or polisher with a diamond pad to smooth and polish the edges of the quartz. Wipe down the entire countertop with a soft cloth and mild cleaner to remove any residue from the installation process.
Need Quartz Countertops?
Looking for high-quality quartz countertops? Choose Stone Sealer for your perfect match. Our expertly crafted quartz countertops blend durability and elegance, enhancing any space with a modern touch.
At Stone Sealer, we prioritize exceptional craftsmanship and customer satisfaction, ensuring each countertop meets your exact needs and style preferences.
Whether renovating your kitchen or bathroom, our extensive selection of quartz surfaces provides unparalleled beauty and resilience. Trust Stone Sealer to deliver stunning results that last. Contact us today to discover how our quartz countertops can transform your home.
Conclusion
Installing quartz countertops can significantly enhance the look and functionality of your kitchen or bathroom. By following these steps and using the right tools, you can achieve a professional installation with a sleek and durable finish.
Remember, proper preparation and precision are key to a successful installation, so take your time to ensure every step is done correctly. With your new quartz countertops, you’ll enjoy a beautiful and functional surface for years to come.
