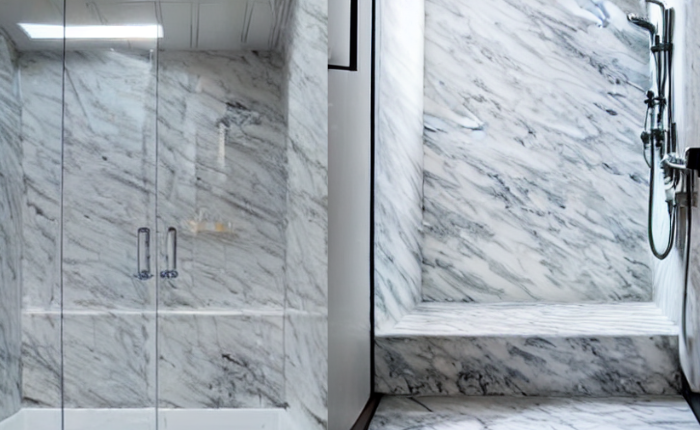
How to Clean Marble Shower
You know that you should keep your bathroom spotless, but sometimes, cleaning the tile around the tub can be difficult. Fortunately, you don’t have to spend a lot of time scrubbing away at the tiles to make them look great. Here are some tips on how to clean marble shower grout.
How to Clean Marble Shower Read More »