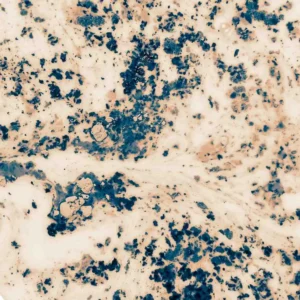

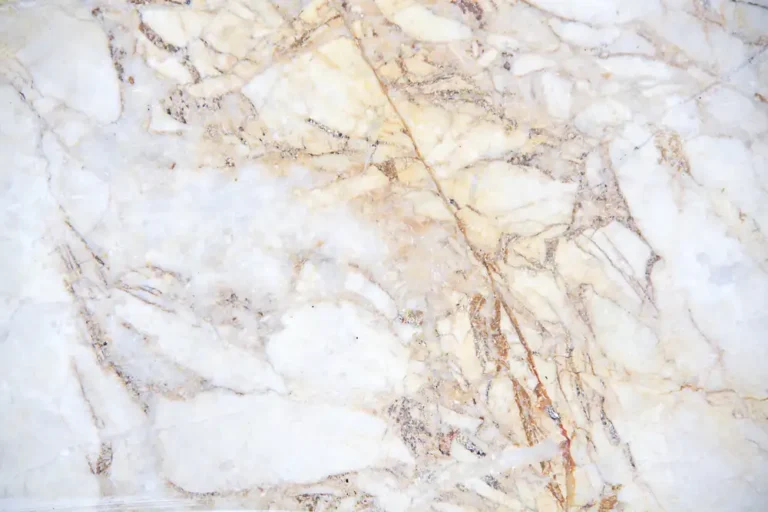
How to polish marble tile? Polishing marble tile is an essential step in maintaining its beauty and longevity. Marble, with its natural elegance and durability, adds a touch of luxury to any space.
However, over time, foot traffic, spills, and other wear and tear can dull its appearance. This is where polishing comes in. By restoring the shine and smoothness of marble surfaces, polishing not only enhances its aesthetic appeal but also prolongs its lifespan.
How to Polish Marble Tile at Home

Materials and tools required for DIY marble tile polishing:
- Mild detergent or stone cleaner
- Soft sponge or cloth
- Soft-bristled brush
- Marble repair kit (optional)
- Polishing compound (powder or paste)
- Polishing pads or cloth
- Polishing machine or hand-held buffer (optional)
- Clean water
- Soft towels or cloths for buffing
Step-by-step guide on polishing marble tile at home:
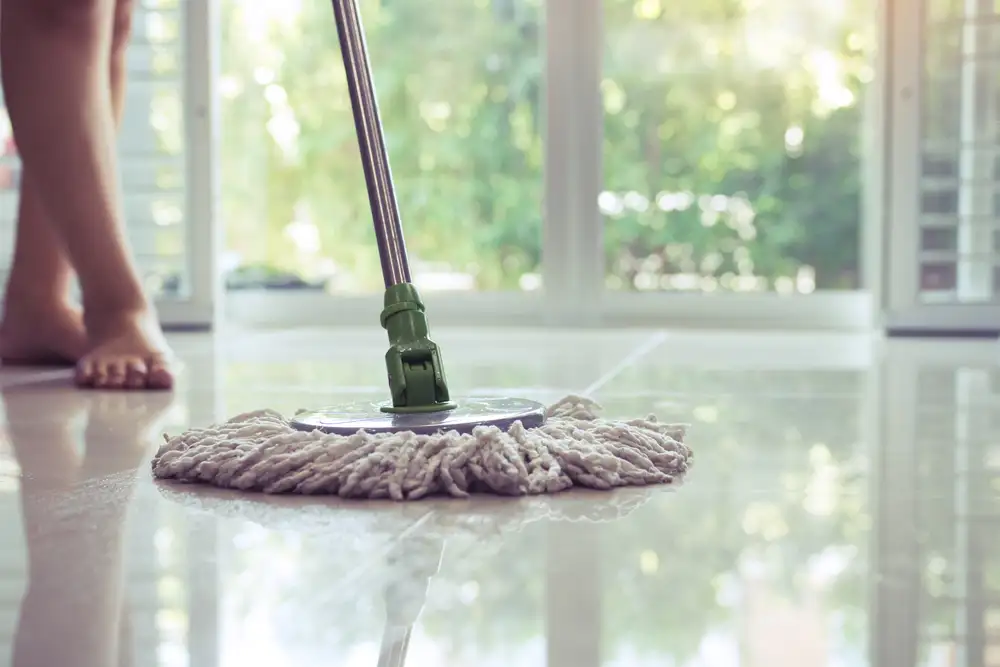
Cleaning the surface:
- Mix mild detergent or stone cleaner with water according to the instructions on the packaging.
- Use a soft sponge or cloth to clean the surface of the marble tile, removing any dirt, grime, or stains.
- For stubborn stains, use a soft-bristled brush to gently scrub the affected areas.
Repairing any damages:
- If there are any scratches, chips, or cracks on the marble tile, consider using a marble repair kit to fix them.
Choosing the right polishing compound:
- Select a polishing compound suitable for marble tiles. You can choose between powder or paste forms based on your preference.
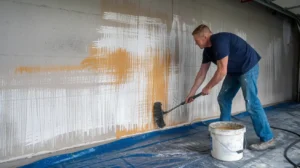
Applying the polishing compound:
- Follow the instructions on the polishing compound packaging to prepare it.
Apply the polishing compound evenly onto the surface of the marble tile using a soft cloth or polishing pad.
Polishing the marble tile surface:
- Use a polishing machine or a hand-held buffer to polish the marble tile. If you don’t have access to a machine, you can also polish the tile manually using a soft cloth or pad.
- Work in small sections, applying gentle pressure and moving the polishing tool in circular motions.
- Once the desired sheen and smoothness are achieved, keep polishing.
Buffing for a glossy finish:
- Once you’ve finished polishing the marble tile, use a clean, soft cloth or pad to buff the surface.
- Buffing helps to remove any excess polishing compound and enhances the shine of the marble tile.
- Continue buffing until the surface has a glossy finish.
Tips for achieving professional results at home:
- Always test any cleaning or polishing products on a small, inconspicuous area of the marble tile first to ensure compatibility and avoid damage.
- Use gentle pressure when polishing to prevent scratching or damaging the marble surface.
- To guarantee comprehensive coverage and consistent outcomes, work in tiny portions.
- Regularly clean and maintain your polished marble tiles to preserve their shine and appearance.
- Consider sealing the marble tiles after polishing to provide additional protection against stains and damage.
How to Polish Marble Tile Edges
Importance of polishing marble tile edges:
Polishing marble tile edges not only enhances the aesthetic appeal of your installation but also adds a layer of protection against chipping and wear. It provides a smooth and professional finish that complements the overall look of your marble tiles, elevating the beauty of your space.
Step-by-step guide on polishing marble tile edges:
Preparing the edges:
- Clean the edges of the marble tiles thoroughly to remove any dust, dirt, or debris.
- Use water-resistant masking tape to protect adjacent surfaces from accidental scratches or polish splatter.
Applying the polishing compound:
- Start with the lowest grit diamond polishing pad (50 or 100 grit) attached to the angle grinder or wet polisher.
- Apply a small amount of marble polishing compound to the edge of the marble tile.
- Turn on the polisher and gently move it back and forth along the edge of the tile, applying even pressure. Keep the polisher moving to prevent uneven polishing.
Polishing the edges:
- Progress through the grits, starting from the lowest and working your way up to the highest (3000 grit).
- After each grit, clean the edge with water to remove any residue and inspect the progress. Continue polishing until you achieve the desired level of smoothness and shine.
Buffing for a smooth finish:
- Once you’ve completed polishing with the highest grit, you can optionally apply polishing powder for an extra glossy finish.
- Use a soft cloth or towel to buff the edges gently, removing any remaining polish residue and enhancing the shine.
Common mistakes to avoid when polishing marble tile edges:
Applying too much pressure: This can cause uneven polishing and potentially damage the marble tile.
Skipping grits: Each grit serves a specific purpose in the polishing process, so skipping grits can result in a less smooth finish.
Overheating: Keep the polisher moving and use water to cool the surface and prevent overheating, which can lead to discoloration or damage to the marble.
Not cleaning between grits: Residue from previous grits can affect the effectiveness of subsequent polishing, so be sure to clean the edge thoroughly between each grit.
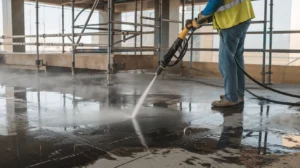
Marble Polishing by Professionals
When to hire professional marble polishing services:
If your marble surfaces have lost their shine or developed scratches, stains, or dullness that regular cleaning can’t resolve, it’s time to consider hiring professional marble polishing services.
Additionally, if you want to maintain the longevity and beauty of your marble floors or countertops, professional polishing on a periodic basis is advisable.
Benefits of hiring professionals for marble tile polishing:
Expertise: Professional marble polishers have the knowledge, experience, and specialized equipment to achieve optimal results without damaging the surface.
Time-saving: DIY polishing can be time-consuming and may not yield satisfactory results. Hiring professionals ensures efficient and effective restoration.
Quality results: Professionals use industry-standard techniques and high-quality products to bring out the natural beauty of marble and enhance its durability.
Damage prevention: Improper polishing techniques or abrasive cleaners can damage marble surfaces. Professionals know how to avoid such risks.
Long-term cost savings: Regular professional polishing can extend the lifespan of your marble surfaces, reducing the need for costly repairs or replacements.
Overview of the professional marble polishing process:
Inspection: Professionals assess the condition of the marble surfaces to determine the appropriate polishing method.
Cleaning: The surface is cleaned to remove dirt, grime, and any existing polish residues.
Honing: If there are scratches or etch marks, honing may be performed using diamond abrasives to smooth the surface.
Polishing: Specialized polishing compounds or powders are applied using polishing machines to restore the marble’s shine.
Sealing (optional): Depending on the type of marble and its location, sealing may be applied to protect the surface from future damage.
How to choose the right professional polishing service:
Experience and expertise: Look for companies with a proven track record in marble polishing and knowledgeable staff.
References and reviews: Check online reviews and ask for references to gauge the quality of their work.
Insurance and certifications: Ensure the company is properly insured and certified to handle marble polishing.
Transparent pricing: Obtain detailed quotes and make sure there are no hidden costs.
Guarantee: Choose a service provider that offers satisfaction guarantees or warranties for their workmanship.
Cost considerations and factors affecting pricing:
Size and condition of the area: Larger areas or heavily damaged surfaces may require more time and effort, impacting the cost.
Type of marble: Different types of marble have varying hardness and characteristics, affecting the complexity of the polishing process.
Additional services: Sealing, stain removal, or crack repairs may incur extra charges.
Accessibility: Factors such as location and ease of access to the marble surfaces can influence pricing.
Reputation of the service provider: Established companies with a reputation for quality may charge higher rates.
If you want the best professional marble polishing services contact no other than Stone Sealer Restoration.
Conclusion
Mastering the art of polishing marble tile not only enhances its aesthetic appeal but also prolongs its lifespan. By following the meticulous steps outlined in this guide, one can achieve a flawless finish that exudes elegance and sophistication.
Through the careful selection of appropriate materials and the utilization of proven techniques, the process becomes both manageable and rewarding.
Moreover, understanding the importance of regular maintenance and employing gentle yet effective cleaning methods ensures the longevity of the marble’s pristine appearance. Feel free to contact us for any type of query or services related to how to polish marble tile.
FAQs
Why Should I Polish My Marble Tile?
Polishing marble tile helps restore its shine, enhances its appearance, and protects it from stains and scratches. It also prolongs the lifespan of the marble.
Can I Polish Marble Tile Myself?
Yes, you can polish marble tile yourself with the right tools and materials. However, it requires careful preparation and technique to avoid damaging the marble.
What Tools And Materials Do I Need To Polish Marble Tile?
You’ll need a variable-speed angle grinder or polisher, diamond polishing pads of various grits (50 to 3000), a dust mask, safety goggles, a marble polishing powder, a soft cloth or mop, and water.
How Do I Prepare The Marble Tile For Polishing?
Start by thoroughly cleaning the marble tile to remove any dirt, grime, or residue. Repair any cracks or chips, and ensure the surface is completely dry before beginning the polishing process.
What Is The Polishing Process For Marble Tile?
Begin with a low-grit diamond polishing pad (50 or 100) to remove any surface imperfections or scratches. Gradually work your way up to higher grit pads (200, 400, 800, 1500, 3000) to achieve a smooth, glossy finish. Use plenty of water to keep the surface cool and prevent overheating.